Thursday, July 28, 2016
Wednesday, July 27, 2016

Tuesday, July 12, 2016
Superhero Office Wall Art
 It is important to remember that not only is it important to decorate your home space, but also your office space. This was a super easy project and it looks really nice!
Supplies:
- 3 trays (found at Target)
- 3 images printed of the internet
- 3 quotes
- Modge Podge
I found these water color images on Pinterest, while browsing. I copy and pasted the images into a Word Document and then added the quotes.
I cut them to size the trays and them simply used Modge Podge to put it together.
Super easy and I get a lot of compliments at my desk!
Monday, July 11, 2016
DIY String Art
*Wood pieces: I have 16x16. I bought a board at Lowes and they cut it into pieces for me
*drill with tiny bit the size of a nail hole (trust me, this will make the process go 10x faster)
*short/tiny nails with large flat head
*hammer
*string (I got embroidery thread at Hobby Lobby. The big rolls are worth the investment)
This takes nimble fingers and after about an hour it hurts! I definitely recommend doing this over the course of a few days. Maybe you can watch your favorite superhero movie for motivation while your do it. Patience is important here. Don't get frustrated when the past 5 nails unravel because your lost your grip on the string. IT GETS EASIER WITH PRACTICE.
Tuesday, June 28, 2016
Monday, June 27, 2016
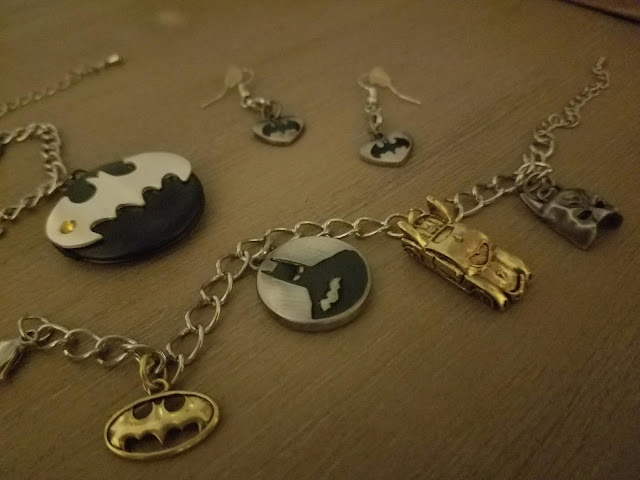
Batman Jewelry!
Graduation!
It's been awhile since my last post. I've been working on my Masters for the past 3 years so my hobbies have been kinda put on hold. I graduated this June and decorated my cap batman style with one of my favorite quotes from Batman Begins: "It's not who you are underneath, but what you do that defines you." I put alot of though into this cap and so I've framed this cap to hang in my office for when I become a counselor :)
If your curious how I made this glamorous hat I picked up my supplies from Hobby Lobby. Here is a list:
*gold glitter 12x12 scrapbook paper cardstock
*black glitter 12x12 scrapbook paper cardstock
*black glitter Washi tape (2inch)
*e6000 glue
*black ribbon
I used my nifty silhouette cameo to cut out the bat symbol and letters :)
I recommend gluing everything as the glitter loses its stick pretty easy so I found the tap on the edges did not stick well.


